Opening a laptop battery is not a casual task. It involves dealing with components that can short-circuit, ignite, or leak harmful materials. Many users attempt it because they want to replace worn-out cells, inspect damage, or recover a device that no longer powers on. While these motivations are reasonable, the risks are often misunderstood. A single wrong move can deform the pouch cells and create heat buildup that leads to swelling.
Laptop batteries are sealed for a reason. Manufacturers follow strict safety standards such as UL 2054 and IEC 62133, which require robust enclosures, short-circuit protection, and internal temperature monitoring. These layers prevent thermal runaway, a common cause of battery fires. Opening the pack removes these protections, so anyone attempting the process must understand how to handle each internal part.
Users also need to know which batteries are serviceable and which are not. Older laptops from Lenovo, Dell, or HP often used external battery packs with hard plastic shells. These can be opened more safely with proper tools. Modern ultrabooks use thin Li-ion polymer cells glued to rigid frames. These designs complicate disassembly and increase the chance of puncturing a pouch cell. The goal of this guide is to help you recognize these differences and make informed decisions before taking any action.
Safety is always the top priority. A swollen or overheated battery should never be opened. These units are unstable and must be handled by a trained technician. Even intact batteries require a controlled environment. A non-conductive surface, adequate ventilation, and proper tools reduce the chance of accidental damage. This guide provides practical steps so you can evaluate whether opening the battery is appropriate for your situation.
Understanding the reasons behind battery failure also matters. Laptop batteries degrade due to charge cycles, temperature stress, and natural chemical aging. Most lithium-ion packs lose 20% capacity after 300–500 cycles, according to data from major cell manufacturers such as Panasonic and LG Chem. This decline often leads users to consider DIY repairs. However, not all failures originate from the cells. Sometimes, the battery management system (BMS) fails. This system monitors temperature, voltage, and current. If the BMS board is damaged, opening the battery may not fix the issue.
Understanding Laptop Battery Construction
Laptop batteries are complex assemblies of cells, circuitry, and protective casing. Most modern laptops use lithium-ion (Li-ion) or lithium-polymer (Li-Po) cells. Each cell stores electrical energy through chemical reactions between the anode and cathode. A single laptop battery can contain anywhere from 2 to 12 cells connected in series or parallel. This arrangement determines voltage and capacity. For example, a typical 11.1V, 48Wh battery may contain three 3.7V cells in series.
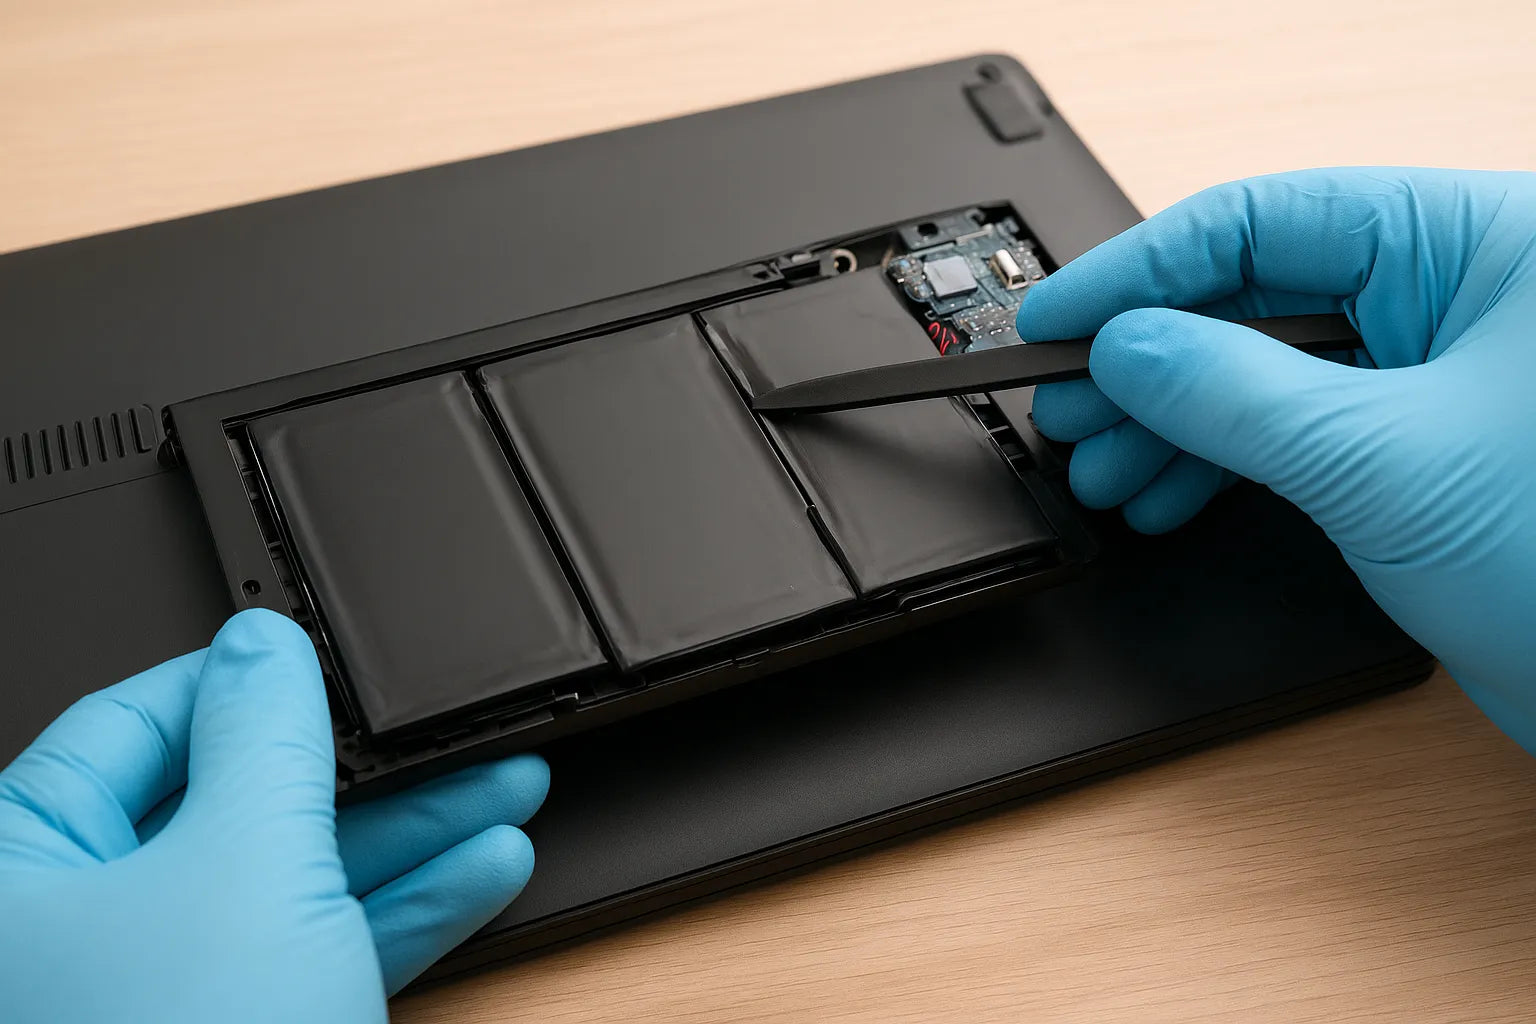
The cells themselves are enclosed in either rigid metal cans or flexible polymer pouches. Metal-cased cells are generally safer to handle, while pouch cells are thinner and lighter but more vulnerable to puncture. Even a small nick can create internal short circuits. Pouch cells are common in ultrabooks, MacBooks, and high-end notebooks. Hard-shell cylindrical cells, like those from Lenovo ThinkPad batteries, are easier to disassemble and less likely to vent when handled carefully.
A crucial component in every battery is the Battery Management System (BMS). This tiny circuit board controls charging, discharging, and thermal protection. It monitors voltage, current, and temperature in real time. Some BMS designs include balancing circuits, which prevent individual cells from overcharging. If the BMS fails, a battery may appear dead even if the cells are functional. Understanding this system is essential because opening a battery may accidentally disconnect or damage the BMS.
Batteries also feature multiple layers of insulation. Insulating tape, heat shrink wraps, and separators prevent short circuits between cells and metallic components. Mishandling can compromise these layers, leading to sparks or chemical leaks. Some manufacturers also embed thermal fuses or current-limiting resistors inside the pack. These are designed to break the circuit in case of overheating. Accidentally cutting through these protections may disable safety features permanently.
Finally, packaging varies by manufacturer. Dell and HP often use snap-on or screw-secured shells, which allow limited disassembly for repair or cell replacement. Apple and Microsoft, by contrast, glue their battery packs into the chassis. These require careful heating and prying to avoid bending cells. Knowing the type of battery you are working with informs the choice of tools and the method of opening it. A wrong approach can ruin the cells or cause hazardous reactions.
Essential Safety Preparations Before Opening a Battery
Safety is the most critical step before handling a laptop battery. Lithium-ion cells store a lot of energy in a small space. A short circuit or puncture can cause fire, smoke, or chemical leakage. Preparing your workspace and using the right equipment reduces these risks significantly.
Start by choosing a non-conductive surface. A wooden or ceramic table works well. Avoid metal surfaces, carpets, or areas with liquids. Keep a fire extinguisher rated for electrical fires (Class C) nearby. This is essential if the battery vents or ignites. Never attempt to open a swollen or damaged battery, as it can be unstable and unpredictable.
Next, gather the correct tools and protective gear. You will need plastic spudgers, precision screwdrivers, and anti-static gloves. Safety glasses protect your eyes from sparks or chemical splashes. Avoid metal prying tools unless the battery casing is specifically designed to be opened with them. Using the wrong tool increases the risk of puncturing cells or damaging the BMS.
Temperature control is also important. Batteries should be at room temperature before disassembly. Avoid handling batteries immediately after heavy use, charging, or exposure to heat. Sudden temperature changes can cause the electrolyte to expand or leak. Proper ventilation is necessary because any vented gas from lithium-ion cells can be harmful when inhaled.
Finally, review the battery type and manufacturer guidelines. Some brands provide service manuals showing disassembly points, screws, and protective layers. Ignoring these instructions can result in irreversible damage. Labeling screws and components as you remove them prevents errors during reassembly. This methodical approach ensures you maintain control over the process and reduces the likelihood of mistakes.
Step-by-Step Guide to Open a Laptop Battery Safely
Opening a laptop battery requires patience, precision, and respect for safety protocols. Follow these steps carefully to minimize risk.
Step 1: Power Down and Remove the Battery
Always turn off your laptop and unplug it from power. Remove the battery from the device, if possible. This ensures no current flows through the cells while you work. For sealed ultrabooks, power down and wait several minutes before touching the pack.
Step 2: Identify Battery Type
Determine whether the battery uses pouch cells, cylindrical cells, or glued modules. Cylindrical cells often have removable shells. Pouch cells may require gentle prying with a plastic tool. Knowing the type informs your approach.
Step 3: Prepare Tools and Workspace
Set your battery on a flat, non-conductive surface. Arrange precision screwdrivers, plastic spudgers, anti-static gloves, and safety glasses. Clear the area of metal objects. Having everything organized reduces the risk of mistakes.
Step 4: Remove Screws or Clips
If your battery has screws, carefully remove them and store them in order. For snap-on shells, gently insert a spudger at the seam and work slowly. Avoid excessive force. Many pack casings are fragile, and cracking them can damage the cells inside.
Step 5: Open the Casing Slowly
Once screws or clips are removed, separate the top cover slowly. Avoid bending or stressing the cells. Pouch cells are particularly sensitive; a puncture can release flammable electrolyte. Work from one side to another evenly.
Step 6: Inspect the Internal Components
Inside, you will find the cells, BMS board, and insulation layers. Do not touch the terminals directly with metal tools. Check for signs of swelling, leakage, or corrosion. If any abnormality appears, stop immediately and dispose of the battery safely.
Step 7: Access Cells for Replacement
If you are replacing cells, note the series and parallel arrangement. Take a photo or diagram the wiring. Carefully desolder or disconnect cells one by one. Avoid stressing the solder pads or the BMS connections.
Step 8: Reassemble Carefully
After replacement or inspection, reassemble the battery in reverse order. Ensure insulation layers are intact and screws are secure. Check that the BMS board remains properly connected. Never skip steps or force the casing shut.
By following these steps meticulously, you reduce the chance of damaging cells, the BMS, or the battery casing. The goal is to preserve the pack’s structural and electrical integrity while safely accessing internal components.
When You Should Not Attempt to Open a Battery
Some laptop batteries should never be opened by a user. Recognizing these situations is crucial to avoid injury or device damage.
Swollen or Overheated Batteries
A swollen battery indicates gas buildup from chemical reactions inside. Opening it can release flammable gases or cause a thermal runaway. Overheated batteries are equally unstable. Both conditions require professional disposal. Attempting DIY repair is extremely risky.
Visible Leaks or Corrosion
Leaking electrolyte is corrosive and toxic. Corrosion around terminals suggests internal failure. Exposure can cause burns or permanent eye and skin damage. These batteries should be handled with gloves, stored in a fireproof container, and taken to certified recycling facilities.
Sealed Ultrabook or MacBook Packs
Many modern laptops use batteries glued into the chassis. The thin Li-Po cells are fragile, and prying them apart often damages multiple cells. Without specialized heat tools and training, opening these batteries can render the pack unusable or dangerous.
Failed BMS or Internal Short-Circuit
If the battery management system has failed or a short exists, the pack can unexpectedly discharge. In such cases, opening the battery may trigger sparks, smoke, or fire. Only trained technicians should attempt repair under controlled conditions.
Unfamiliar or Counterfeit Batteries
Unknown brands or aftermarket packs may lack standard protections. These batteries are less predictable and more likely to fail catastrophically if mishandled. Always verify the manufacturer and avoid opening suspicious packs.
Key Takeaway: Even with careful preparation, some batteries are too hazardous to open. When in doubt, rely on certified repair centers or battery recycling programs. Your safety is far more important than saving a few dollars or salvaging old cells.
Conclusion
Opening a laptop battery can be done safely, but only with proper knowledge, preparation, and tools. Understanding battery construction, BMS functionality, and potential hazards is essential. Always evaluate the battery’s condition and type before attempting disassembly.
Remember: safety comes first. If a battery shows swelling, leakage, or overheating, never open it. Using certified services protects both you and your laptop. By following careful, step-by-step procedures, you can handle DIY battery tasks while minimizing risks.
With the right approach, you can inspect, maintain, or replace cells safely. But knowing your limits and recognizing danger signs is equally important. The principles outlined in this guide help you make informed, responsible choices whenever you work with laptop batteries.