A Battery Backup Unit (BBU) plays a crucial role in protecting data and hardware during power interruptions. It keeps systems running long enough to complete essential processes. Even short outages can interrupt data writes, disrupt communication links, and cause system failures. A healthy BBU prevents these problems by providing temporary power and controlled shutdown support.
BBU batteries, like all rechargeable batteries, degrade over time. Most units last between two and five years depending on temperature, workload, and charging cycles. Higher temperatures can speed up wear. In enterprise environments, a failing battery can compromise entire storage arrays or network devices. For home users, it can still mean data corruption or interrupted backups.
Replacing a BBU battery is a normal part of system maintenance. The task is straightforward when performed correctly, but skipping steps can lead to risk. Proper replacement ensures system reliability and prolongs the life of connected hardware. Clear instructions and safety measures keep the process smooth.
Understanding how a BBU works helps you replace it with confidence. This article breaks the process into simple sections. Each chapter guides you through what to look for, how to prepare, and how to replace the battery safely. The goal is to empower you with practical, accurate, and reliable information.
What Is a BBU and Why It Matters
A Battery Backup Unit (BBU) is designed to provide immediate power when the main supply fails. It supports uninterrupted system operation for a short period. This protection helps prevent data corruption and hardware damage. Many enterprise systems use BBUs in RAID controllers, servers, and networking equipment. Home users may see them in UPS systems or modem backup units.
At its core, a BBU stabilizes power flow. It prevents sudden drops and spikes from reaching sensitive components. Without this function, systems become vulnerable to disruptions. Data writes may fail mid-process, and system logs can become incomplete. These problems can lead to costly downtime. In large environments, even a brief outage may affect hundreds of users.
BBUs rely on rechargeable batteries. Most use lithium-ion or sealed lead-acid cells. Each type has strengths. Lithium-ion batteries offer lighter weight and longer life cycles. Lead-acid models are more affordable and widely available. Manufacturers choose based on cost, durability, and intended usage. Regardless of type, all batteries have limited lifespans.
As batteries age, their capacity drops. Heat, cycling frequency, and storage conditions influence degradation. According to industry studies, every 10°C rise in operating temperature can cut battery life by half. A well-maintained environment helps slow wear. System alerts may signal declining capacity. These warnings often appear before failure and should not be ignored.
The importance of a BBU becomes clear when failure happens. Systems may crash or shut down abruptly. Critical data may become unreadable. Businesses risk losing productivity and customer trust. Replacing a worn battery maintains system resilience. Understanding how the unit functions ensures you can act quickly when issues arise.
Signs Your BBU Battery Needs Replacement
Recognizing early warning signs helps prevent downtime and data loss. Most BBUs include built-in diagnostics. These alerts appear on dashboards, RAID controller logs, or device status LEDs. Some units also send email notifications or trigger system warnings. As soon as these alerts appear, the battery should be inspected.
One of the most common signs is reduced backup time. When the battery can no longer hold a charge, the system may shut down faster than expected. You may notice irregular behavior, such as frequent beeping or repeated warning messages. In some cases, the battery may refuse to charge completely. These issues usually indicate the battery is reaching the end of its life.
Physical symptoms are also important. Swelling, leaking, or unusual heat increases risk. A battery running hotter than normal can indicate internal degradation. Manufacturers recommend replacing the unit immediately if any physical change is observed. Damaged batteries pose safety hazards and should not be ignored.
Performance changes in connected equipment can provide more clues. RAID controllers may slow down when battery health declines. Systems may run forced write-through mode instead of write-back, reducing performance. This occurs because the battery can no longer guarantee safe caching. If your system logs show this behavior, replacement is needed.
In some environments, batteries follow a maintenance schedule. Businesses replace BBUs every two to three years to avoid unexpected failures. Even if the battery appears functional, time-based replacement reduces risk. Using real monitoring data combined with scheduled checks ensures maximum stability.
Step-by-Step Guide: How to Replace a BBU Battery
Replacing a BBU battery is straightforward when you follow clear steps. Preparation matters. Having the right tools and information prevents mistakes. Always review the manufacturer’s documentation before starting. Different models have unique layouts and safety requirements. Proper handling reduces the risk of damage.
Step 1: Power Down and Secure the Area
Before replacing the battery, shut down the system safely. Save any ongoing tasks and notify users if working in a shared environment. Disconnect power from the device. Wait a few minutes for internal components to discharge. Work in a clean, dry, well-lit space to avoid accidents.
Step 2: Locate the BBU Unit
BBUs are typically mounted near RAID controllers, within server chassis, or inside UPS devices. Remove the cover if necessary. Anti-static precautions are important. Wear an ESD wrist strap to protect sensitive components. Avoid touching circuit boards directly.
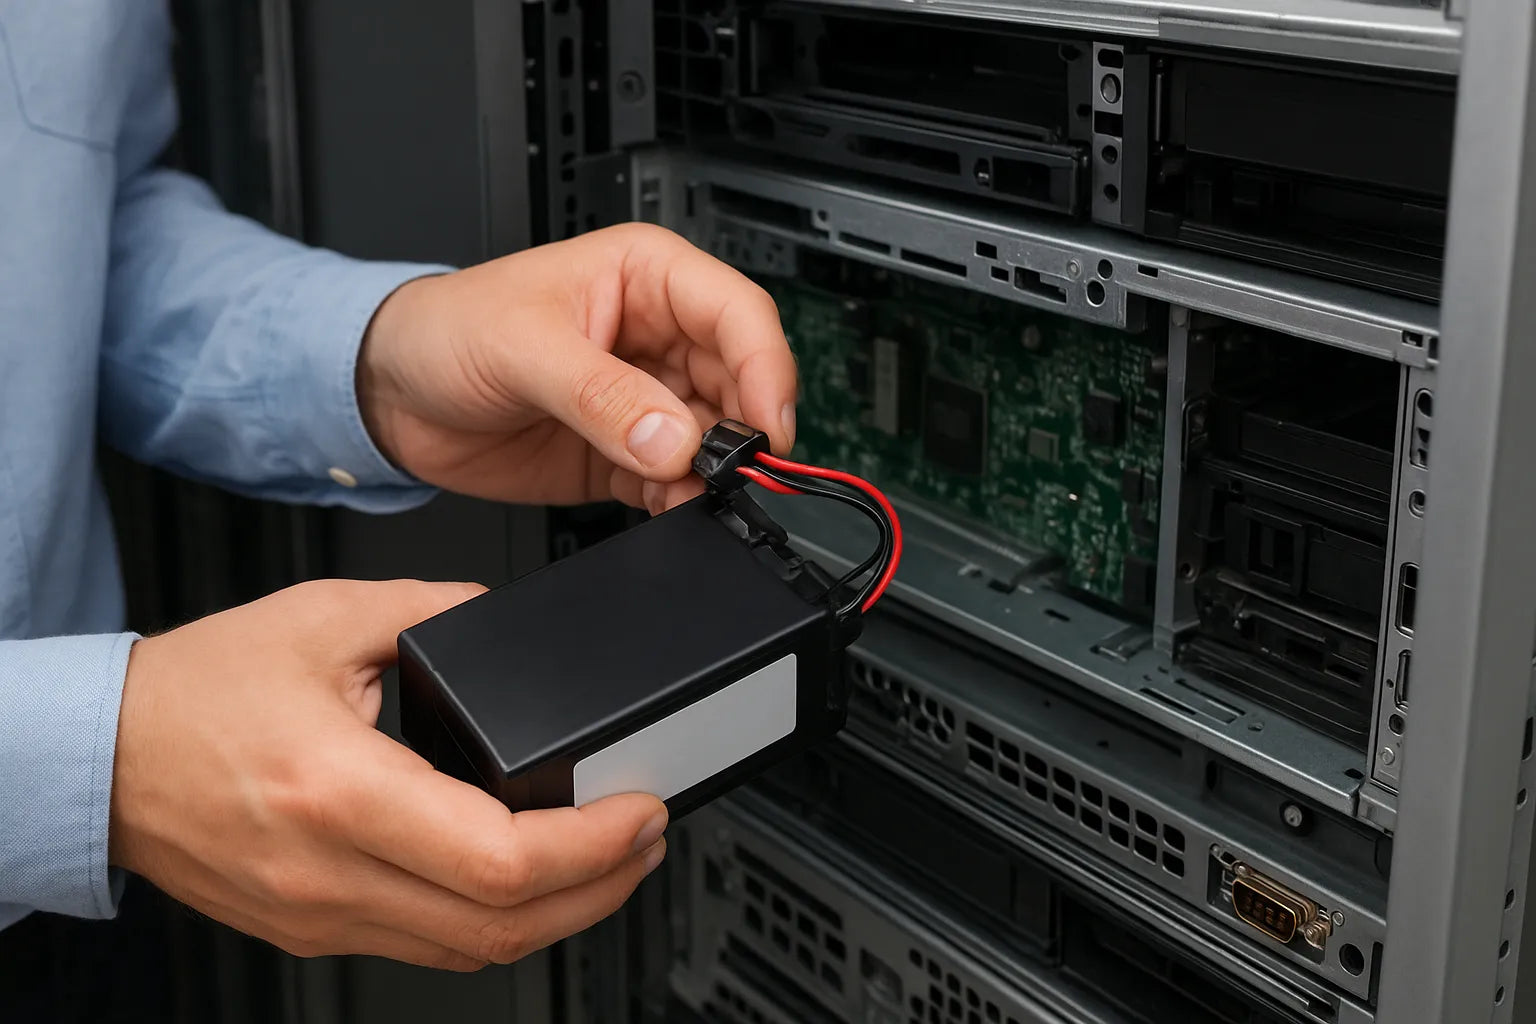
Step 3: Remove the Old Battery
Most BBU batteries are attached with clips or screws. Some models use quick-release connectors. Disconnect the power lead carefully. Do not pull on cables. Lift the battery straight out to avoid strain on connections. If the battery feels stuck, check for hidden latches before applying force.
Step 4: Install the New Battery
Insert the replacement battery in the same position as the original. Ensure the connectors align properly. Secure the battery using the same method as before. Double-check the connection before closing the case. A loose connection can prevent charging or cause intermittent issues.
Step 5: Restore Power and Verify Status
Reconnect power and start the system. Most BBUs need time to initialize. Check the system’s status panel or logging software. Confirm that the new battery is detected and charging. Some units require calibration cycles. Follow any prompts that appear. This ensures proper battery health tracking.
Step 6: Dispose of the Old Battery Responsibly
Do not throw BBU batteries in household trash. Many contain chemicals that require proper disposal. Local e-waste centers accept used batteries. Some vendors offer recycling programs. Proper disposal protects the environment and complies with safety regulations.
Safety Tips and Final Checks
Safety should guide every step of the replacement process. Batteries store energy and must be handled with care. Avoid working near flammable materials. Keep tools organized to prevent slips or accidental contact with circuit boards. If the battery shows swelling or leaking, handle it only with protective gloves. Damaged batteries can pose chemical and electrical risks.
Check the ventilation around your equipment after replacement. Overheating shortens battery life and affects system reliability. Ensure airflow is not blocked by cables or dust buildup. Cleaning the interior with compressed air can help maintain proper cooling. Regular temperature checks improve long-term performance.
After installation, monitor the system for a few hours. Confirm that the battery charges properly and that alerts disappear. Some systems take several hours to complete calibration. Do not ignore warnings that reappear. They may indicate incompatible battery models or connection issues. Following up early prevents larger failures later.
Keep a record of the replacement date. Most organizations track battery changes to maintain predictable maintenance cycles. This helps avoid emergencies. Compare the performance of the new battery with historical data. Stable logs and healthy charging behavior show the replacement was successful.
Training staff or documenting the procedure is useful for future maintenance. Clear steps reduce errors and ensure safe handling. Whether you’re managing a single home device or a full rack of servers, consistent procedures extend system reliability. Staying proactive saves time, reduces risk, and keeps your equipment running smoothly.